
I’ve lost count of how many service calls we receive from frustrated Tigard and Aloha homeowners who wake up to find their garage door won’t close. In most cases, the culprit isn’t a broken opener or damaged springs, but rather garage door opener sensor issues that can often be fixed without professional help.
After years of serving the Washington County Oregon community, our team has seen virtually every sensor problem imaginable. The good news is that many of these issues are surprisingly simple to diagnose and repair yourself, saving you both time and money.
Table of Contents
How Do Garage Door Safety Sensors Actually Work?
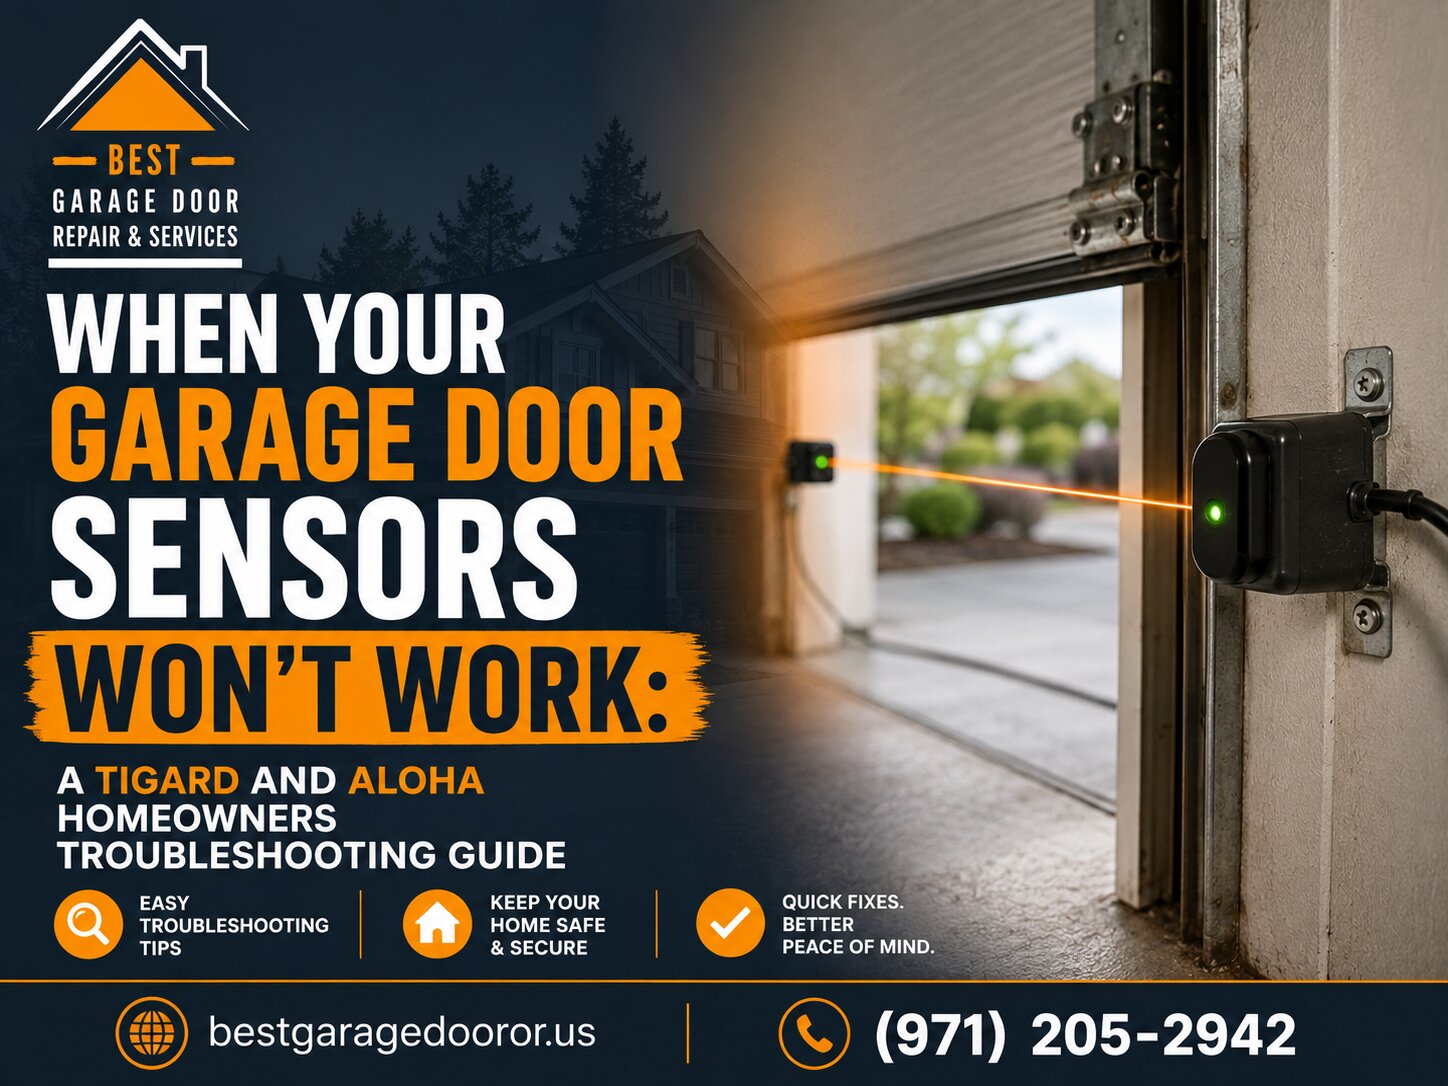
Garage door safety sensors use an invisible infrared beam that stretches across your garage door opening, typically mounted about six inches above the floor. One sensor sends the beam while the other receives it, creating a protective barrier that prevents the door from closing if anything breaks that connection.
This safety feature became mandatory on all garage door openers manufactured after 1993, and it has prevented countless injuries and property damage. When the sensors detect an obstruction, whether it’s a person, pet, or object, they immediately signal the opener to stop and reverse the door’s direction.
Common Signs Your Garage Door Sensors Are Malfunctioning
Before diving into troubleshooting, you need to recognize when sensor problems are actually occurring. We see homeowners in Hillsboro and throughout the Portland Metro area who mistake other garage door issues for sensor failures.
Step by Step Sensor Troubleshooting Process
When homeowners call us from neighborhoods like Rock Creek or Tanasbourne, I always walk them through this systematic troubleshooting process first. Following these steps in order helps you identify the exact problem and often leads to a quick fix.
How to Properly Align Your Garage Door Sensors
Sensor alignment is the single most frequent repair we perform. The process requires patience, but most homeowners can handle it with the right guidance.
Start by loosening the wing nut or screw that holds each sensor in its mounting bracket, but don’t remove it completely. You want the sensor loose enough to move but not so loose it falls out of position.
Begin with the receiving sensor, which typically has two lights rather than one. Gently adjust it until both indicator lights are solid and not blinking. This usually means it’s receiving both power and the infrared beam.
Next, adjust the sending sensor while watching the receiving sensor’s lights. Make tiny movements until the receiving sensor shows a solid green light. Some sensors require extremely precise alignment, so work slowly and methodically.
Once both lights show solid, tighten the mounting hardware while being careful not to move the sensors. Test the door several times to ensure it closes properly before considering the job complete.
What If the Sensor Lights Won’t Turn On At All?
When sensor lights won’t illuminate at all, you’re dealing with an electrical issue rather than an alignment problem. This requires checking the power supply and wiring connections.
First, verify that your garage door opener itself has power. Check that it’s plugged in and that the circuit breaker hasn’t tripped. I’ve driven to homes in Hillsboro only to discover the homeowner accidentally unplugged the opener while organizing the garage.
Troubleshooting Specific Sensor Problems
Over the years, our team has encountered some sensor issues more frequently than others. Here are the specific scenarios we see most often in the Portland Metro area and how to address them.
Environmental Factors That Affect Sensor Performance in Oregon
Living in the Pacific Northwest means dealing with weather conditions that impact garage door sensors differently than in other parts of the country. I want to share what we’ve learned from years of service calls in our unique climate.
Our mild Oregon winters with occasional ice storms can cause sensor problems when moisture freezes on the lens or housing. The humidity from our frequent rain can also create condensation inside sensor housings if they’re not properly sealed.
During fall, leaves and debris blown by wind storms often accumulate right where sensors are mounted near the garage floor. Homeowners in wooded areas like Witch Hazel Village or near Shute Park deal with this constantly.
Temperature fluctuations, while not as extreme as some regions, can still cause the mounting brackets to shift slightly over time. This gradual movement eventually throws sensors out of alignment without any obvious cause.
When to Replace Rather Than Repair Your Sensors
Sometimes troubleshooting reveals that your sensors have reached the end of their useful life. Knowing when to replace rather than continuing to repair saves you time and frustration.
Sensor technology has improved significantly over the past decade. If your garage door opener is more than ten years old, upgrading to new sensors often solves chronic problems while providing better reliability.
Preventive Maintenance to Keep Sensors Working Properly
An ounce of prevention truly is worth a pound of cure when it comes to garage door sensors. We recommend a simple maintenance routine that takes just a few minutes every few months.
Regular cleaning prevents most sensor problems before they start. Wipe the lenses monthly with a soft, clean cloth. In dusty garages or during pollen season, increase this to weekly cleanings.
Periodically check that mounting brackets remain tight and sensors haven’t shifted position. A quick visual inspection every time you change the batteries in your smoke detectors works well as a reminder schedule.
Keep the area around sensors clear of storage items, tools, and debris. Make it a rule that nothing gets placed within twelve inches of either sensor to prevent accidental bumps or obstructions.
Understanding Different Sensor Types and Brands
Not all garage door sensors work exactly the same way. While the basic principle remains consistent across brands, understanding your specific system helps with troubleshooting.
LiftMaster and Chamberlain sensors, which we install most frequently, use a specific light pattern system. The sending sensor typically shows a steady amber or yellow light, while the receiving sensor shows green when properly aligned.
Genie sensors often have slightly different light indicators and may mount differently than other brands. Their sensitivity to sunlight varies between models as well.
Craftsman sensors, being part of the Chamberlain family, usually follow similar patterns to LiftMaster systems. However, older Craftsman units may have unique quirks worth noting in your owner’s manual.
When replacing sensors, we always recommend using sensors specifically designed for your opener brand. While universal sensors exist, brand specific units typically provide better compatibility and fewer problems long term.
DIY Sensor Replacement: What You Need to Know
Replacing garage door sensors is one of the more straightforward DIY garage door repairs. If troubleshooting reveals you need new sensors, many homeowners can handle the installation themselves.
Start by purchasing the correct replacement sensors for your specific opener model. Bring your opener’s brand name and model number to ensure compatibility. We stock most common sensor types at our location for homeowners who prefer the DIY route.
Safety Testing After Sensor Repairs
After any sensor repair or adjustment, proper safety testing ensures the system will protect your family as designed. This critical step should never be skipped.
The basic test involves placing an object like a cardboard box in the door’s path and attempting to close it. The door should immediately reverse upon contacting the box or when the sensors detect it breaking the beam.
We perform this test multiple times across different positions in the doorway to ensure consistent performance. Test both the automatic reversal when the door contacts an object and the sensor detection before contact occurs.
Also test the door’s response when you wave your hand through the sensor beam while the door is closing. The door should instantly reverse direction, never continuing downward even briefly.
If any test fails, do not use the garage door until the problem is fully resolved. A garage door that doesn’t reverse properly poses serious injury risks, particularly to children and pets.
Cost Considerations for Sensor Repairs and Replacement
Understanding the costs involved helps you make informed decisions about DIY repairs versus professional service. We believe in transparency about pricing so homeowners can choose the best option for their situation.
Replacement sensor pairs typically cost between forty and eighty dollars depending on the brand and features. Higher end sensors with enhanced sunlight rejection and weather resistance fall on the upper end of that range.
Professional installation and alignment usually runs one hundred to one hundred fifty dollars for labor, making the total investment around one hundred fifty to two hundred fifty dollars for complete sensor replacement with professional service.
For comparison, a service call to troubleshoot and realign existing sensors typically costs seventy five to one hundred twenty five dollars. If the problem involves simple cleaning or alignment that you can handle yourself, you save that entire expense.
Keep in mind that attempting repairs beyond your skill level can sometimes cause additional damage, turning a simple fix into a more expensive problem. We’re always happy to provide phone guidance to help you decide if a repair is within your comfort zone.
Common Mistakes to Avoid During Sensor Troubleshooting
Over the years, we’ve seen homeowners make the same mistakes repeatedly when working on sensor problems. Learning from these common errors saves you time and prevents additional issues.
Smart Garage Door Openers and Advanced Sensor Technology
Modern smart garage door openers have introduced new sensor technologies that address many traditional problems. If you’re considering upgrading your entire system, understanding these advancements helps you make an informed choice.
Newer sensors often include automatic alignment features that make installation and maintenance much easier. Some models will self adjust within a limited range to maintain the infrared connection even if mounting brackets shift slightly.
Enhanced sunlight filtering technology in premium sensors virtually eliminates the direct sunlight interference problems that plague older models. This proves especially valuable for garages that face south or west.
WiFi connected openers can send alerts to your smartphone when sensor problems occur, often before you even notice the door isn’t closing properly. This early warning system prevents the frustration of discovering a sensor problem when you’re trying to leave for work.
Some advanced systems include diagnostic modes accessible through smartphone apps that tell you exactly which sensor has a problem and often what type of issue it is. This takes much of the guesswork out of troubleshooting.
Professional Help Is Always Available When You Need It
I’ve shared these troubleshooting tips to help Tigard, Aloha, and Hillsboro homeowners solve common sensor problems on their own. Many sensor issues really are simple fixes that don’t require professional help.
That said, we understand that not everyone has the time, tools, or confidence to tackle garage door repairs. Our team has seen virtually every sensor problem imaginable, and we can typically diagnose and fix issues quickly that might take a homeowner hours to figure out.
If you’ve worked through these troubleshooting steps without success, if you’re uncomfortable working with any part of your garage door system, or if you simply prefer professional service, we’re here to help. We serve the entire Washington County Oregon area with same day service in most cases.
Your garage door sensors exist to keep your family safe. Never compromise on that safety by leaving sensor problems unresolved or by bypassing the system. Whether you fix it yourself or call us for help, make sure those sensors are working properly before you consider the job done.








Leave A Comment