
Garage Door FAQs
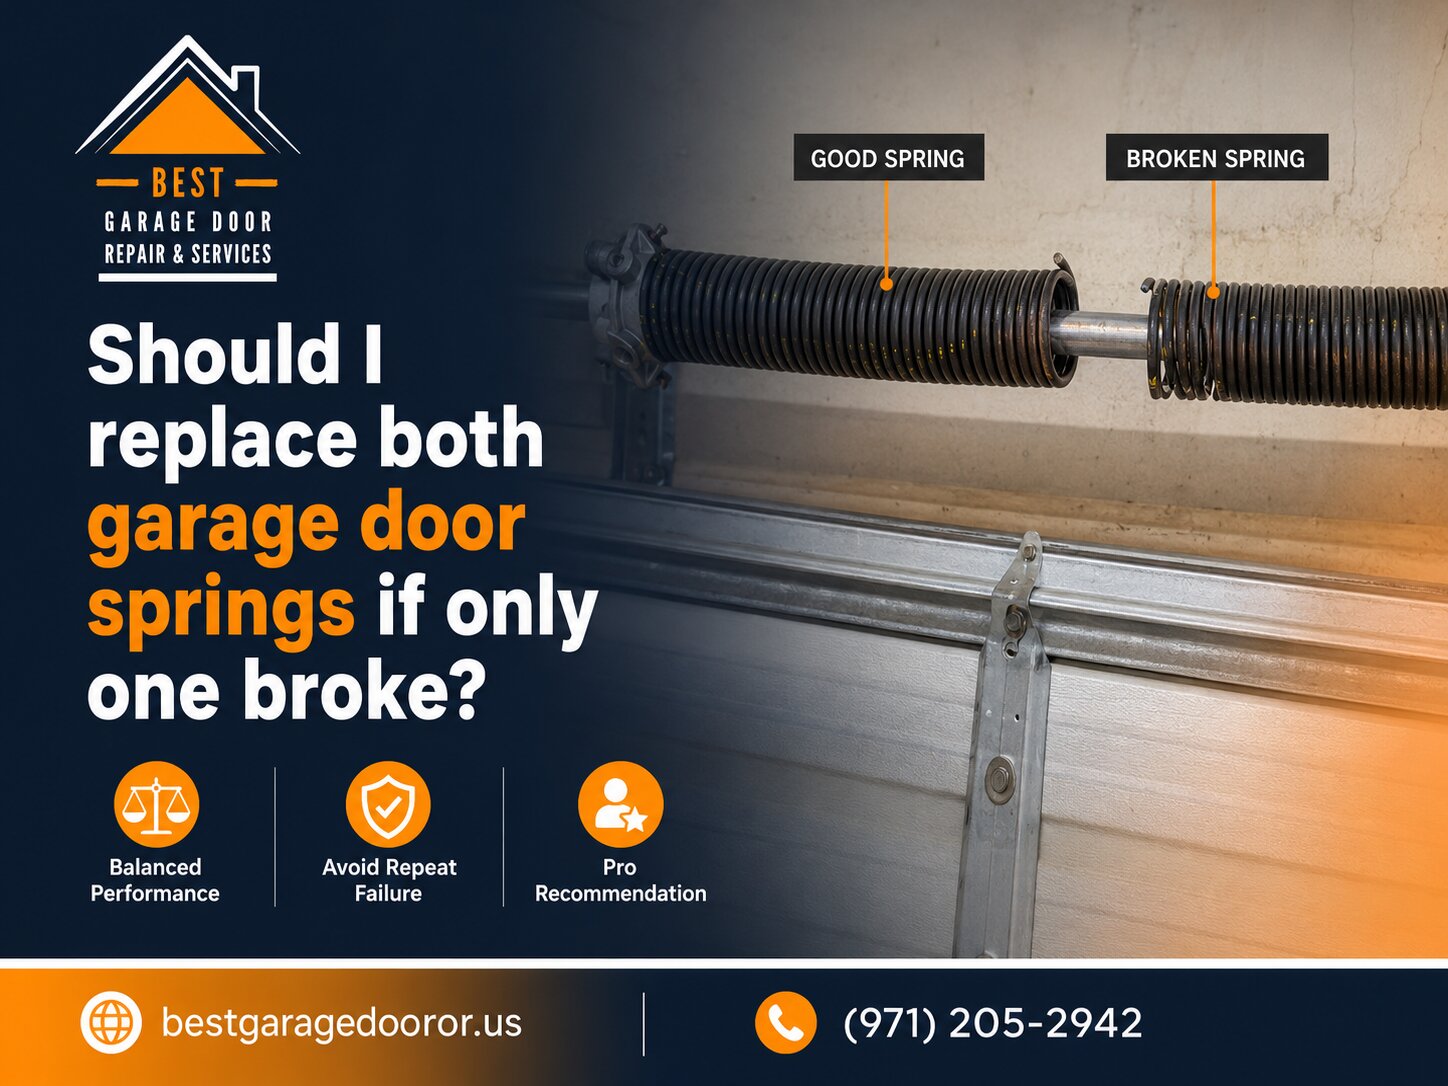
Yes, you should replace both garage door springs even if only one has broken. While it may seem cost-effective to replace just the broken spring, this approach often leads to additional problems and expenses within a short time frame.
Why Both Springs Should Be Replaced Together
Garage door springs are installed as a matched pair and operate under identical conditions from day one. They experience the same number of cycles, bear the same weight load, and endure the same environmental factors. When one spring breaks, the other has undergone the exact same wear and is near the end of its lifespan.
If you replace only the broken spring, the older spring will likely fail within weeks or months. This means you will pay for Best Garage Door Repair & Services calls, labor, and spring replacement twice instead of once. The cost difference between replacing one spring versus two is minimal compared to the expense of a second emergency repair visit.
Problems With Mismatched Springs
Operating your garage door with one new spring and one worn spring creates significant operational issues. The new spring has full tension while the old spring has weakened considerably, causing the door to become unbalanced. An unbalanced door puts excessive strain on your garage door opener motor, which can lead to premature opener failure.
The imbalance also causes uneven wear on other components like cables, rollers, and tracks. Your door may hang crooked, bind during operation, or close too quickly on one side. These problems create safety hazards and accelerate wear throughout the entire door system.
Additional Benefits of Replacing Both Springs
Most garage door professionals strongly recommend replacing both springs as standard practice. Quality springs typically last 10,000 to 20,000 cycles, and replacing them as a set ensures optimal performance and safety. While the upfront cost is slightly higher, the long-term savings and peace of mind make replacing both springs the smarter choice as discussed in our Blog.
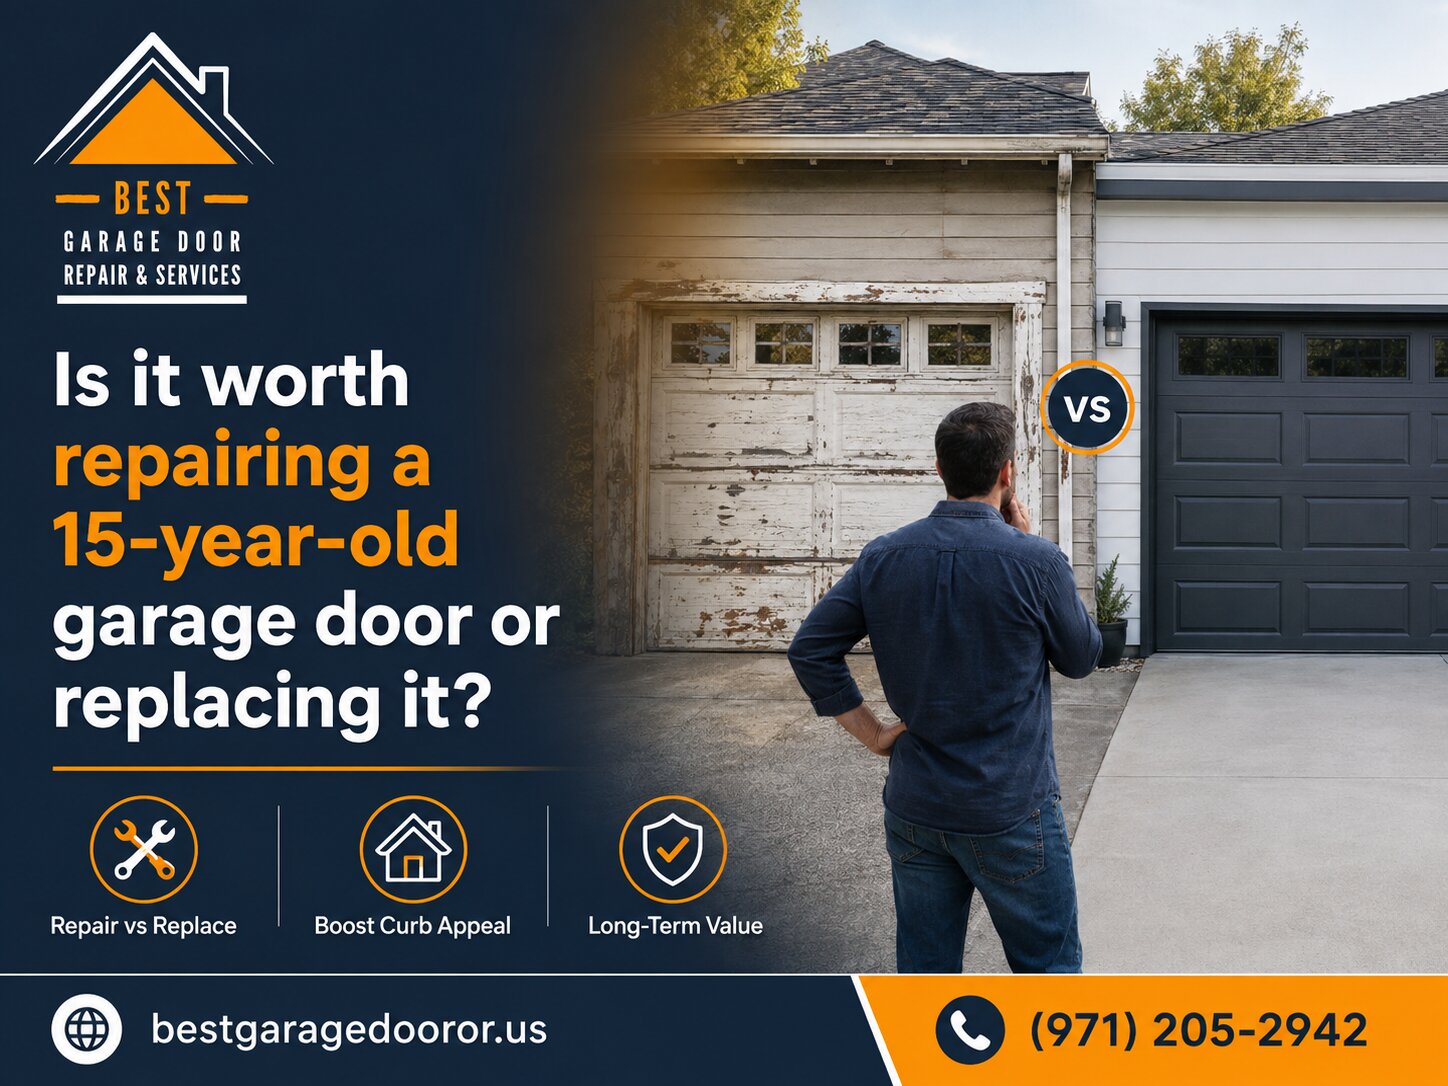
The decision to repair or replace a 15-year-old garage door depends on several factors, including the extent of damage, overall condition, and long-term cost-effectiveness. In most cases, if your door requires frequent repairs, shows significant structural wear, or lacks modern safety features, replacement is the smarter investment. However, if the issue is minor and the door has been well-maintained, a repair might extend its life for a few more years.
Signs Your 15-Year-Old Door Needs Replacement
Garage doors typically last 15 to 30 years, meaning yours is right at the crossroads. Once a door reaches this age, certain warning signs indicate replacement is more practical than continued repairs.
If you’re experiencing three or more of these issues, replacement usually makes more financial sense than piecemeal repairs. The cumulative cost of fixing an aging door often exceeds the investment in a new, warrantied system with Best Garage Door Repair & Services.
When Repair Still Makes Sense
Not every 15-year-old garage door is ready for the scrap heap. If your door has been regularly maintained and the current problem is isolated, repair can be a cost-effective solution.
Simple component failures like broken springs, worn rollers, or a malfunctioning opener are typically affordable fixes that don’t require full replacement. If only one or two panels are damaged and the rest of the door remains structurally sound, panel replacement might be an option. Doors that have received annual professional maintenance throughout their life often perform reliably well into their twenties.
The key consideration is whether the repair addresses the root problem or simply delays the inevitable. A professional inspection can help determine if your door’s core structure and operating system remain viable or if you’re just postponing larger expenses.
Long-Term Cost Comparison
The smart choice comes down to a simple calculation. If repair costs exceed 50 percent of replacement cost, or if you’re facing multiple repairs within a short timeframe, replacement delivers better value.
New garage doors come with warranties covering parts and labor for several years, eliminating surprise expenses. Modern doors also offer improved insulation that can reduce heating and cooling costs by up to 20 percent in attached garages. Enhanced safety features protect your family from accidents that older doors without auto-reverse or pinch-resistant designs can cause.
Additionally, a new garage door can recoup 85 to 90 percent of its cost in increased home value, making it one of the highest-return home improvements. If you plan to sell within the next five years, replacement becomes even more attractive from a financial standpoint, as discussed in our Blog.
Best Garage Door prioritizes emergency service calls in Washington County and typically responds within 60 to 90 minutes of your call. Our local dispatch team maintains technicians on standby throughout the service area, ensuring that urgent situations like broken springs, malfunctioning openers, or doors stuck open or closed receive immediate attention. When you contact us with an emergency, we assess the severity of the issue and dispatch the nearest available technician equipped with the tools and parts needed to resolve most common problems on the first visit.
What Qualifies as a Garage Door Emergency
Not every garage door issue requires emergency service, but certain situations demand immediate professional intervention to protect your property and safety. Understanding which problems qualify as emergencies helps you make the right call and ensures our team prioritizes the most critical situations first with Best Garage Door Repair & Services.
How Our Emergency Response System Works
When you call our emergency line, you speak directly with a trained dispatcher who gathers essential information about your situation. We ask specific questions about the nature of the problem, safety concerns, and whether your home security is compromised. This information allows us to route the call to the technician best positioned to help you quickly and to ensure they arrive with the right equipment and replacement parts.
Our technicians carry fully stocked service vehicles with the most commonly needed components for Washington County homes, including various spring sizes, opener parts, rollers, cables, and track sections. This preparation means we can complete most emergency repairs during the first visit without delays for parts ordering. For complex issues requiring specialized components, we secure the door temporarily and schedule a follow-up appointment to complete the permanent repair.
Response times may vary based on factors like current call volume, traffic conditions, and your specific location within Washington County. During severe weather events or after major storms, emergency calls naturally increase, but we expand our available crew to maintain the fastest possible response. Our dispatch team provides estimated arrival times when you call and updates you if circumstances change.
Coverage Areas and After-Hours Service
Best Garage Door provides emergency service throughout Washington County, including Beaverton, Hillsboro, Tigard, Tualatin, Sherwood, and surrounding communities. Our technicians are strategically positioned across the county to minimize travel time to any location. We offer emergency service seven days a week, including evenings, weekends, and holidays, because garage door failures do not respect regular business hours.
After-hours emergency calls receive the same priority response as daytime service requests. We understand that a garage door stuck open at midnight creates an immediate security concern that cannot wait until morning. Our emergency rates are competitive and transparent, with pricing clearly explained before any work begins so you can make informed decisions about repairs.
When you experience a garage door emergency in Washington County, contact Best Garage Door immediately for rapid, professional response. Our experienced technicians have the skills and resources to restore your door’s function and your peace of mind quickly and safely. For more information about our services and helpful tips, visit our Blog.

Professional garage door repair costs in the Portland Metro area typically range from $150 to $450 for most common repairs, with the average service call landing around $250 to $300. The final price depends on the specific issue, required parts, labor complexity, and whether your repair is needed during standard business hours or as an emergency service. Understanding these cost factors helps you budget appropriately and avoid surprise expenses when your garage door needs Best Garage Door Repair & Services professional attention.
Common Repair Costs by Issue Type
The nature of your garage door problem significantly impacts the repair cost. Spring replacements represent one of the most common repairs, with torsion spring replacement typically costing $200 to $350 and extension spring replacement running $150 to $250. Cable repairs usually fall in the $150 to $200 range, while opener repairs vary from $150 to $400 depending on whether the issue requires simple adjustments or component replacement.
Panel replacement costs vary widely based on material and design, ranging from $250 to $800 per panel for standard options. Roller replacement generally costs $150 to $250, while track realignment or replacement runs $200 to $350. Sensor repairs or replacements typically cost $100 to $200, making them among the more affordable fixes.
Factors That Influence Your Final Price
Several variables affect what you ultimately pay for garage door repair services in the Portland area. Recognizing these factors helps you understand quotes and make informed decisions about your repair needs.
Getting the Best Value for Your Investment
Most reputable Portland area garage door companies charge a diagnostic or service call fee of $75 to $100, which typically applies toward your repair if you proceed with the work. Always request a detailed written estimate before authorizing repairs, ensuring it includes parts, labor, and any applicable warranties. Beware of quotes that seem significantly lower than average, as they may indicate inferior parts or inexperienced technicians.
Many local companies offer seasonal promotions or discounts for seniors, military members, or first-time customers that can reduce costs by 10 to 15 percent. Bundling multiple minor repairs during a single service call often proves more economical than scheduling separate visits. Investing in quality repairs now prevents more expensive emergency failures later, making professional service a wise long-term decision for your home’s functionality and security. For more information and tips, visit our Blog.
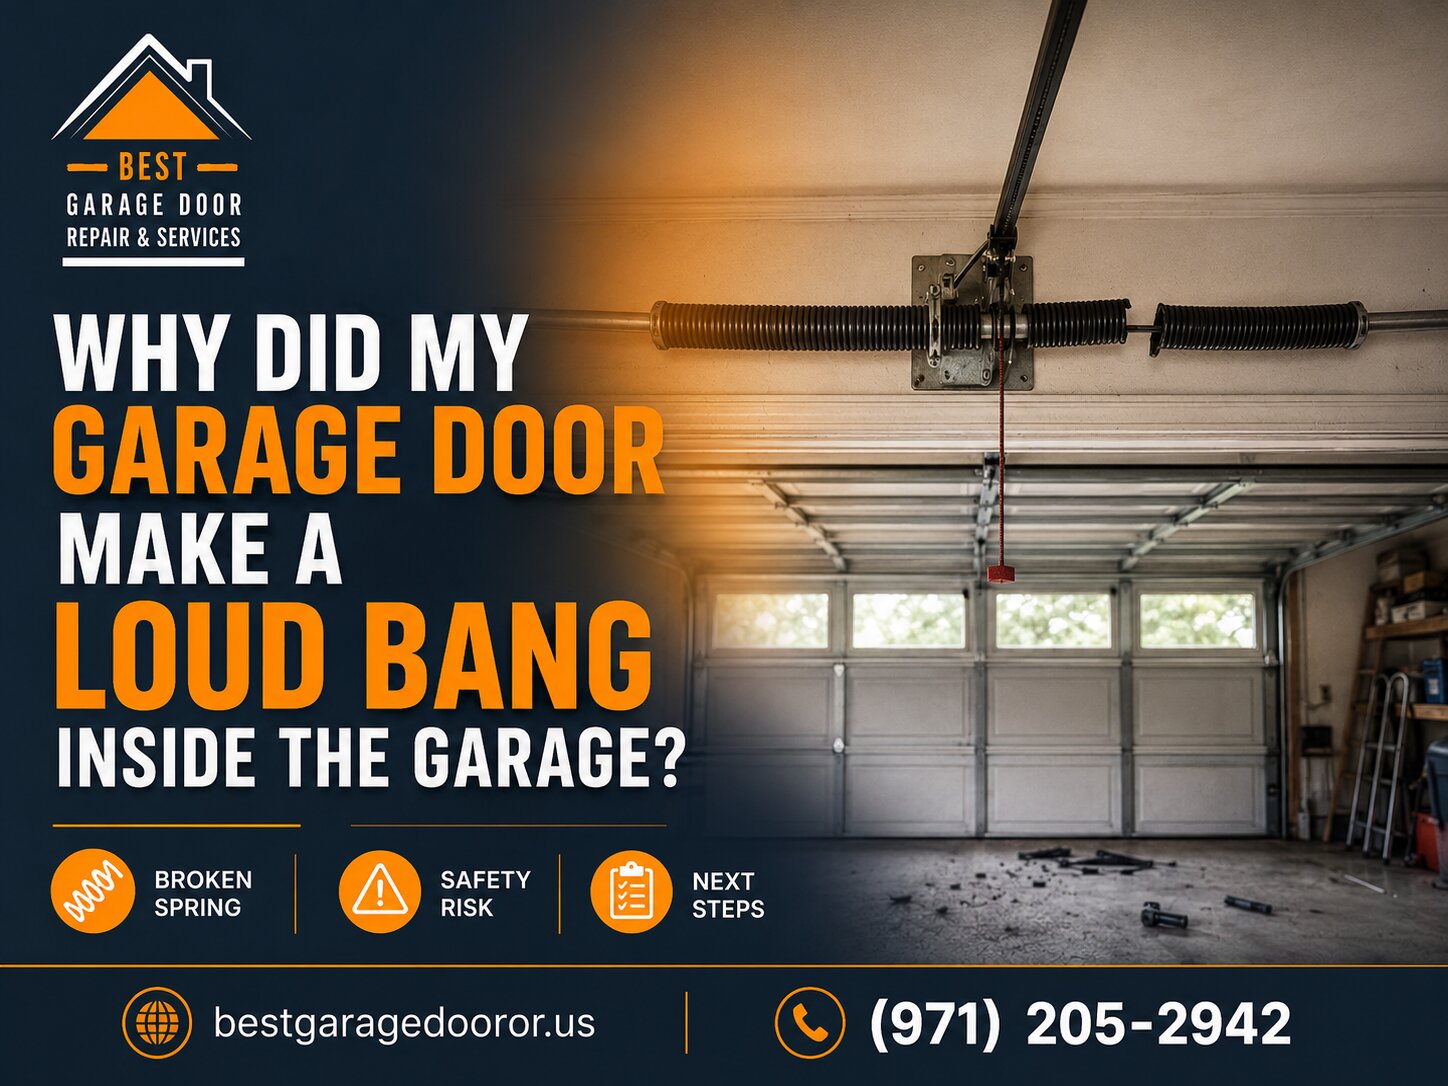
A loud bang coming from inside your garage is almost always the sound of a torsion spring breaking. This is one of the most common and startling events in garage door ownership. The spring snaps suddenly under years of tension, releasing all its stored energy at once and creating a noise that can be heard throughout your home.
What Causes a Garage Door to Make This Noise
Torsion springs are tightly wound metal coils mounted on a shaft above your garage door. They counterbalance the weight of the door, making it easy to lift manually or with an opener. These springs are under extreme tension every single day, cycling thousands of times over their lifespan.
Most residential torsion springs are rated for 10,000 to 20,000 cycles, which translates to roughly seven to ten years of typical use. Once a spring reaches the end of its cycle life, the metal fatigues and eventually fails. When it breaks, the release of tension is instantaneous and incredibly loud, often compared to a gunshot or firecracker.
Signs Your Spring Has Broken
After hearing the bang, you can confirm a broken spring by looking for these telltale indicators:
What to Do After the Bang
First, disconnect your garage door opener by pulling the emergency release cord. This prevents the motor from trying to lift the unsupported door weight and burning out. Do not attempt to force the door open or closed, as this can cause cable damage, bent tracks, or personal injury.
Contact a professional Best Garage Door Repair & Services technician immediately for spring replacement. A qualified technician has the specialized tools and training to safely remove the broken spring and install a new one with proper tension calibration. Most repairs can be completed the same day, restoring full function to your door.
If you have a two-car garage door or an exceptionally heavy door, consider replacing both springs at once even if only one broke. The second spring has experienced the same wear and will likely fail soon, saving you a second service call and additional downtime. For more helpful information about garage door maintenance and repairs, visit our Blog.
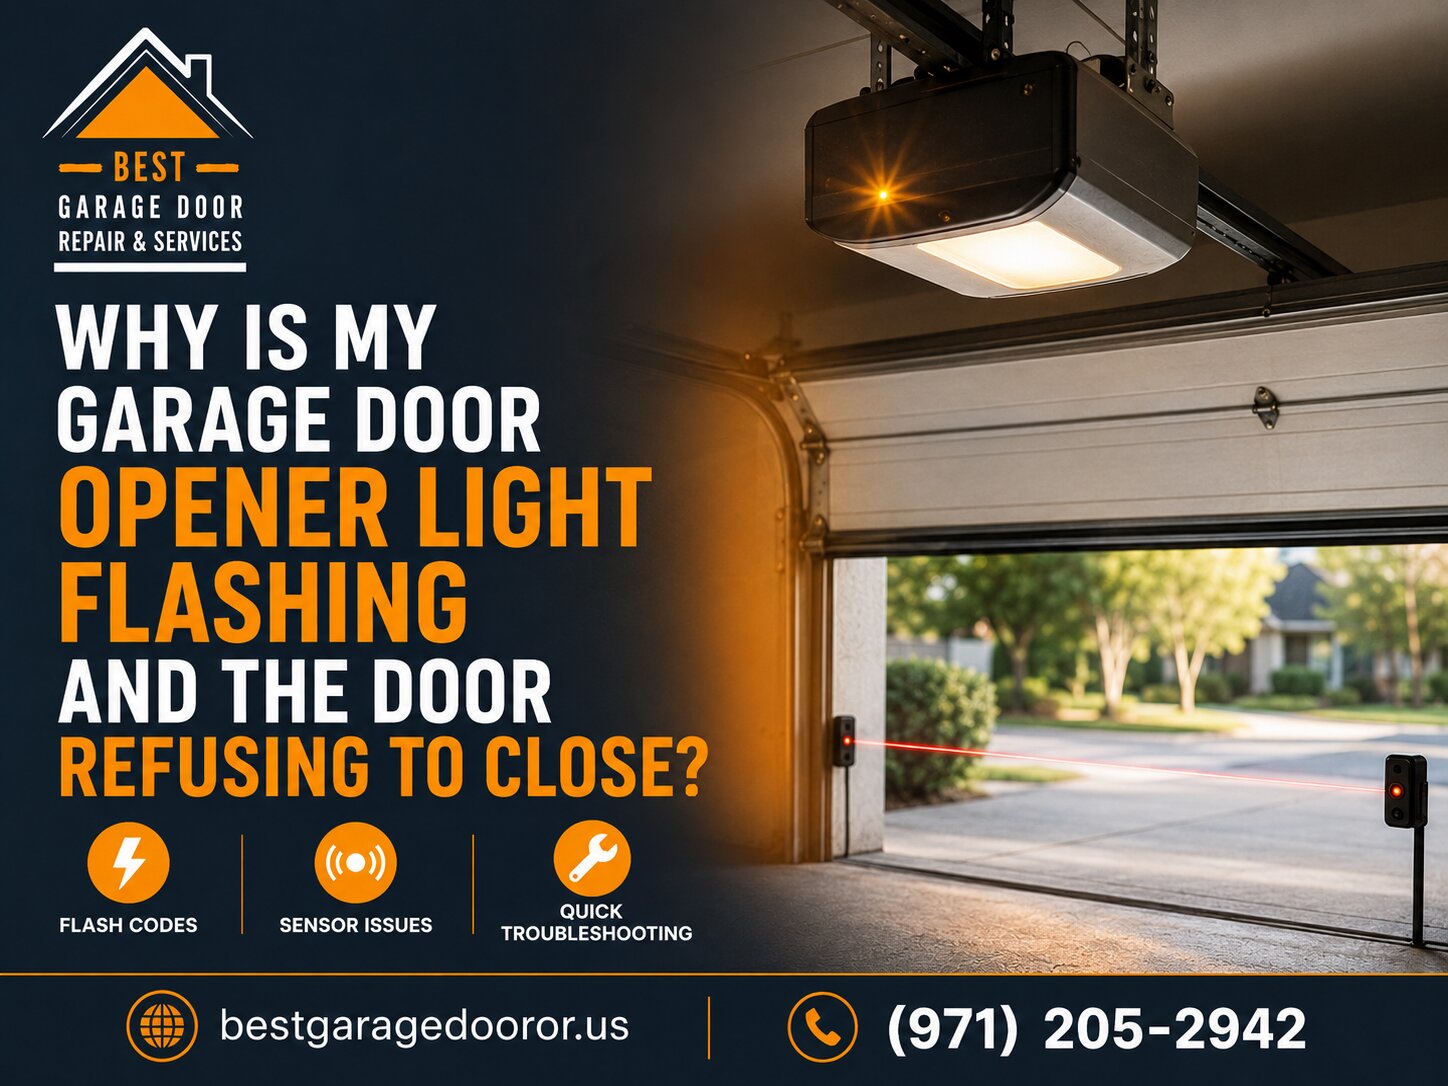
A flashing light on your garage door opener paired with a door that won’t close typically indicates a safety sensor misalignment or obstruction. Most modern garage door openers are equipped with photo-eye sensors on either side of the door track near the floor, and when these sensors can’t “see” each other properly, the opener flashes a warning light and refuses to close the door as a safety precaution. This built-in feature prevents the door from closing on people, pets, or objects in its path.
Common Causes of Sensor Problems
The flashing light is your opener’s way of communicating that something is wrong with the safety sensor system. Understanding the most common culprits can help you diagnose and potentially fix the issue quickly.
Troubleshooting Steps You Can Try
Before calling a professional, there are several simple fixes you can attempt on your own. Start by examining the sensor units themselves, which are usually small boxes mounted about six inches above the floor on either side of the garage door.
First, check if both sensor lights are illuminated. One sensor typically shows a solid green light while the other may display green, red, or amber depending on the manufacturer. If one light is off or blinking, that sensor is not receiving power or is misaligned.
Clean both sensor lenses gently with a soft, dry cloth to remove any dirt, dust, or debris. Even a thin film of grime can disrupt the beam and trigger the safety mechanism.
Next, verify that the sensors are properly aligned by loosening the mounting brackets slightly and adjusting them so they point directly at each other. The indicator lights should both become solid when alignment is correct.
Inspect the wiring from each sensor back to the opener motor unit, looking for any loose connections, frayed wires, or damage from rodents or accidents. Ensure all wire connections are secure and not corroded.
When to Call a Professional
While many sensor issues can be resolved with simple adjustments, some situations demand professional expertise. If you’ve cleaned and aligned the sensors but the problem continues, or if you notice damaged wiring that requires repair, it’s time to contact a qualified garage door technician.
Professional technicians have the tools and experience to diagnose complex electrical issues, replace faulty sensors with quality components, and ensure your safety system functions correctly. They can also identify related problems with your opener that might not be immediately obvious to homeowners.
Don’t compromise on garage door safety by ignoring persistent sensor problems or attempting to bypass the safety system. A properly functioning sensor system protects your family and property from serious injury or damage, and working with a trusted provider for Best Garage Door Repair & Services ensures your system meets all safety standards.
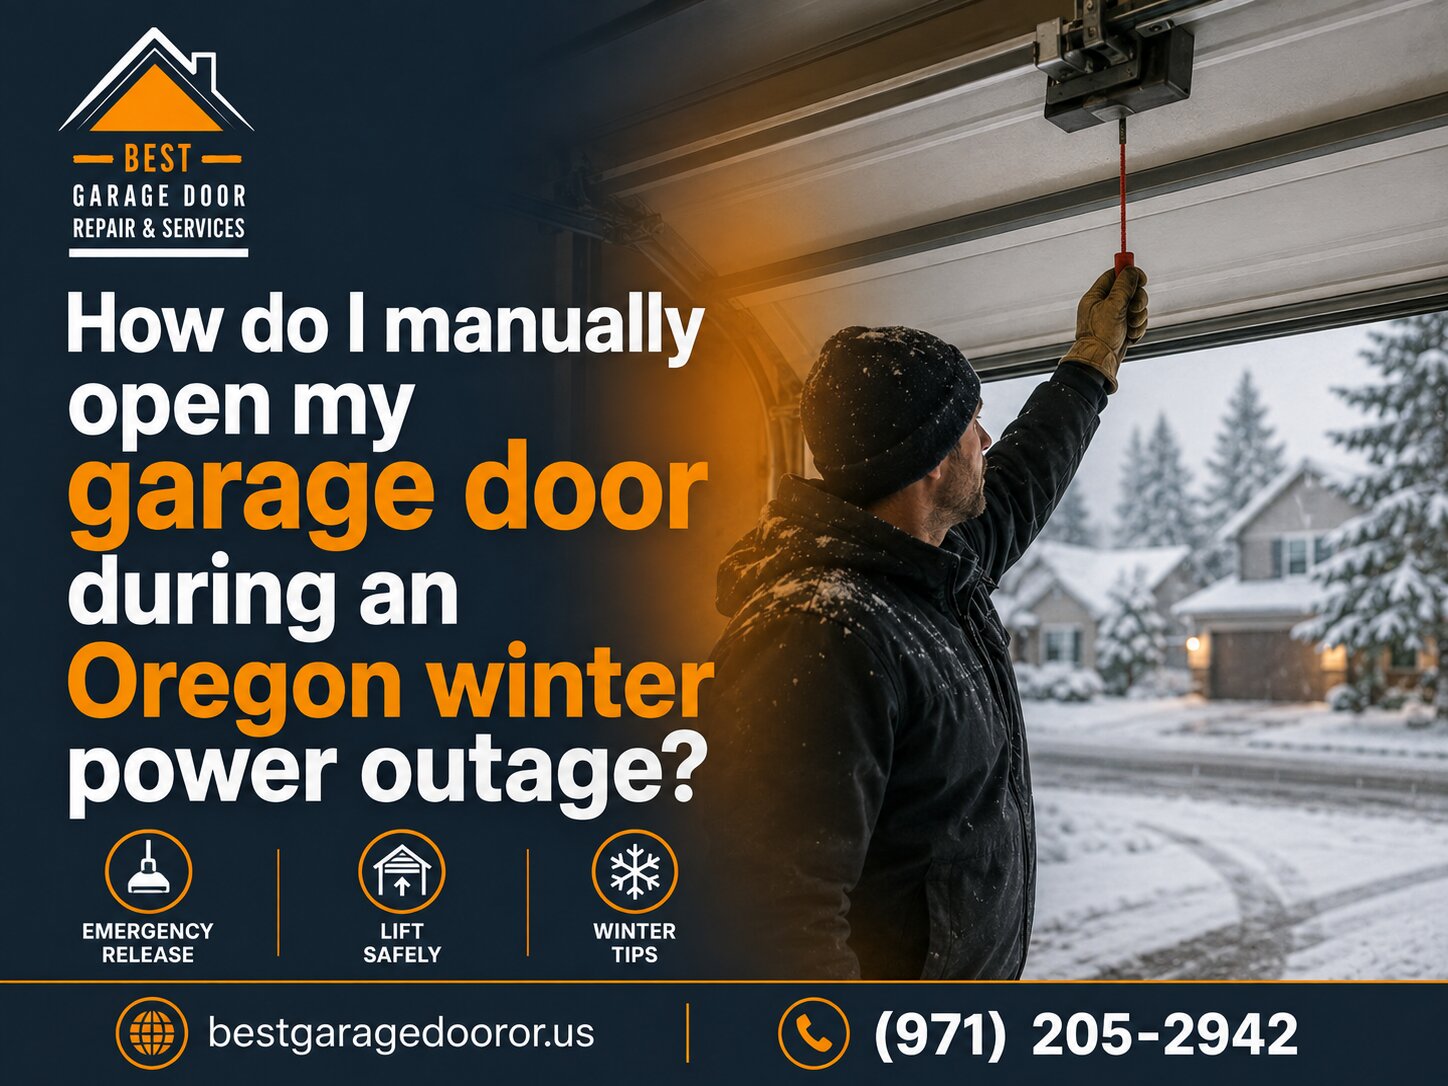
If the power goes out during an Oregon winter storm, you can still open your garage door manually by disengaging the automatic opener and lifting the door by hand. Most garage door openers include an emergency release handle, usually a red cord hanging from the trolley mechanism, that allows you to disconnect the door from the motorized system. Once disengaged, you can raise the door yourself, though it’s important to follow proper safety steps to avoid injury or damage in cold, icy conditions.
Locating and Using the Emergency Release
The emergency release mechanism is typically a red handle attached to a cord that hangs from the opener’s trolley carriage. To activate it, pull down firmly on the handle until you hear a click, which indicates the trolley has disengaged from the door. Make sure the door is fully closed before you pull the release, as disengaging an open or partially open door can cause it to slam down unexpectedly.
Once the release is activated, grip the door handle or the bottom edge of the door with both hands. Lift steadily and evenly, using your legs rather than your back to avoid strain. The door should rise smoothly if the springs are properly balanced, but Oregon winter temperatures can make metal components stiff, so you may need a bit more effort than usual.
Safety Precautions for Cold Weather Operation
Oregon winters bring freezing rain and ice, which can cause the door’s weather stripping or bottom seal to freeze to the garage floor. If the door won’t budge when you try to lift it, check for ice along the bottom edge. Gently chip away any ice buildup with a plastic scraper or apply warm (not boiling) water to melt the bond before attempting to lift again.
Cold temperatures can also affect spring tension and lubrication. If your door feels unusually heavy or unbalanced, the springs may need Professional Garage Door Repair Services once power is restored. Never force a door that resists opening, as this can cause cable or spring failure.
Securing the Door and Reconnecting the Opener
When you need to close the door again, lower it slowly and steadily to the ground. Because the automatic opener is disengaged, you’ll need to control the descent manually to prevent it from crashing down. Once the door is fully closed, you can lock it from the inside using any manual locks or latches if you want extra security during the outage.
After power is restored, reconnect the door to the opener by pulling the emergency release handle toward the door until the trolley re-engages with the carriage. You may need to press the wall button or remote to move the trolley into the correct position for reconnection. Test the door with the opener to ensure it’s functioning properly before resuming normal use.
If you encounter persistent issues with manual operation, notice damaged components, or simply want peace of mind before the next winter storm, professional inspection and maintenance can ensure your garage door is ready for emergency use. Regular servicing also helps prevent costly repairs and keeps your system safe and reliable year-round. For more helpful tips and guidance, visit our Blog.
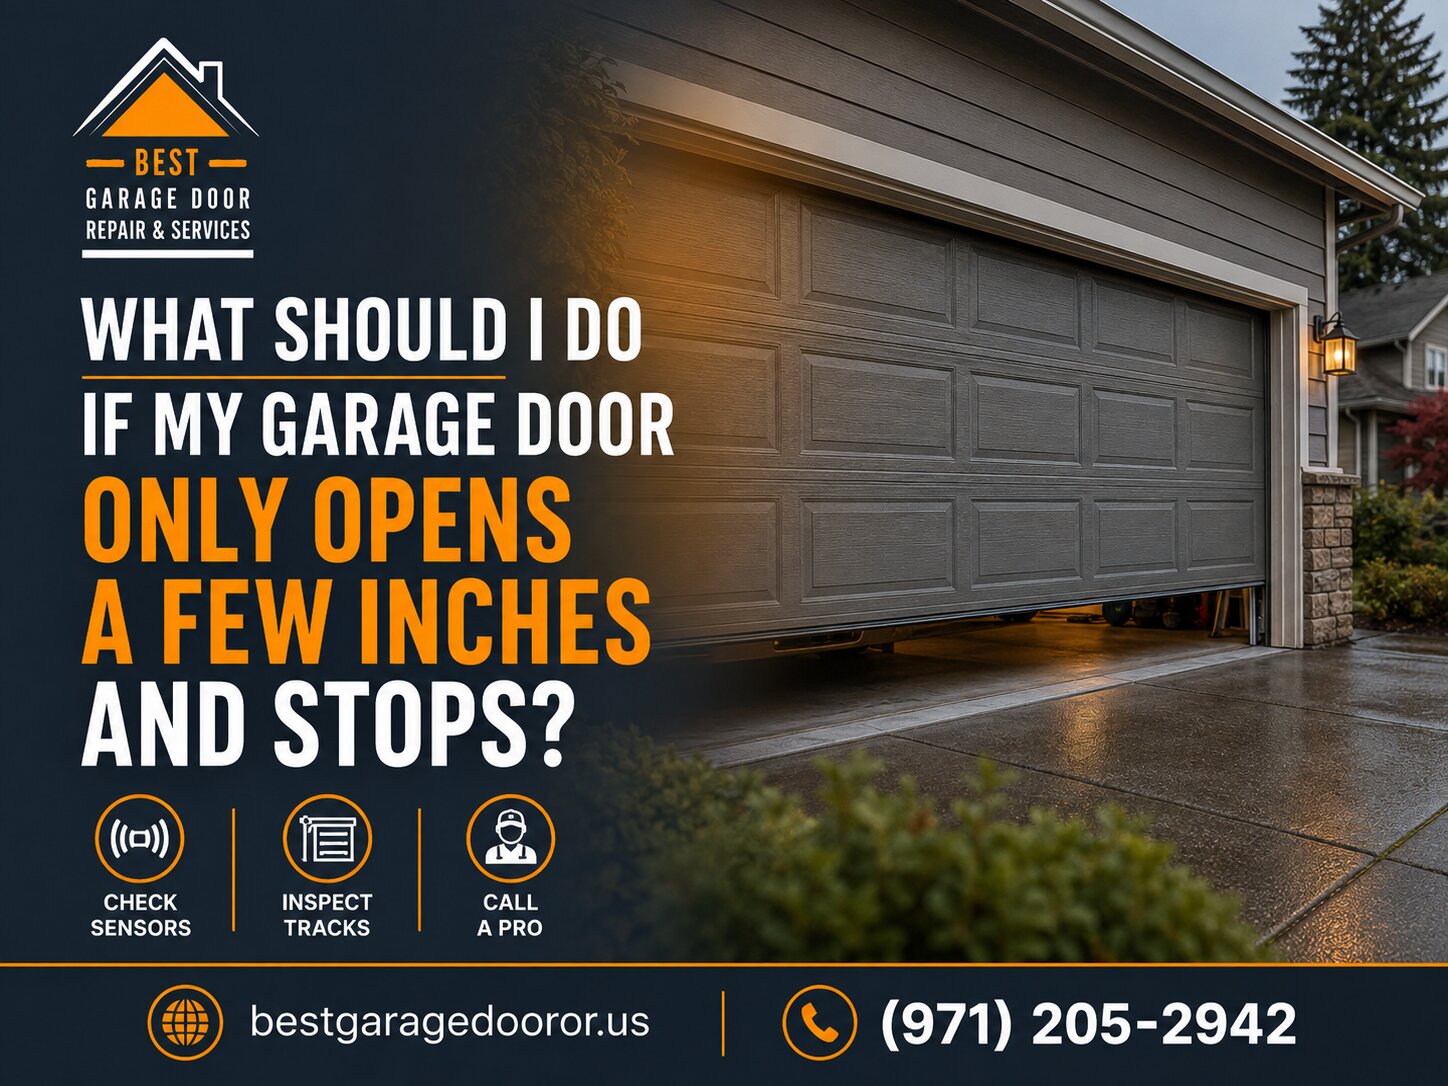
If your garage door only opens a few inches and then stops, it’s typically caused by one of several common issues: misaligned safety sensors, incorrect travel limit settings, obstructions in the track, or broken springs. The good news is that many of these problems can be diagnosed and sometimes resolved without professional help, though safety should always be your top priority when working with garage door systems.
Check the Safety Sensors First
Modern garage doors are equipped with photo-eye sensors positioned near the floor on both sides of the door opening. These sensors send an invisible beam across the doorway, and if anything blocks that beam, the door will stop and reverse to prevent accidents. When the door only opens a few inches, the sensors may be misaligned or detecting a false obstruction.
First, look at the sensor lights on both sides of the door. Most systems have LED indicators that show green when properly aligned and red or blinking when there’s a problem. Clean the sensor lenses with a soft cloth, as dirt, spider webs, or condensation can interfere with the beam.
If the lights indicate misalignment, gently adjust the sensors until both show solid indicator lights. The brackets holding the sensors can often be loosened slightly to allow repositioning, then tightened once alignment is achieved. For more information on Best Garage Door Repair & Services, consult with experienced professionals who can help diagnose sensor issues.
Adjust the Travel Limit Settings
Your garage door opener has limit settings that tell the motor how far to move the door before stopping. If these settings are incorrect, the opener may think the door has reached its full open position when it has only moved a few inches. This is especially common after a power outage or if someone has recently adjusted the opener settings.
Locate the limit adjustment controls on your garage door opener unit, usually found on the back or side panel. These are typically labeled as “up” or “open” limit and “down” or “close” limit, with adjustment screws or dials. Consult your opener’s manual for the exact location and method, as brands vary.
To increase the door’s travel distance, make small adjustments to the up-limit control, turning it in the direction indicated for increasing travel. Test the door after each small adjustment until it opens fully.
Inspect for Physical Obstructions and Mechanical Issues
Physical problems with the door mechanism itself can prevent proper operation. A thorough visual inspection can reveal issues that need attention.
If you’ve checked the sensors, adjusted the limits, and inspected for obstructions but the door still won’t open properly, the problem likely requires professional diagnosis. Issues with the opener motor, circuit board, drive mechanism, or spring system need expert attention to ensure safe and lasting repairs. Check our Blog for more helpful troubleshooting tips and maintenance guides.
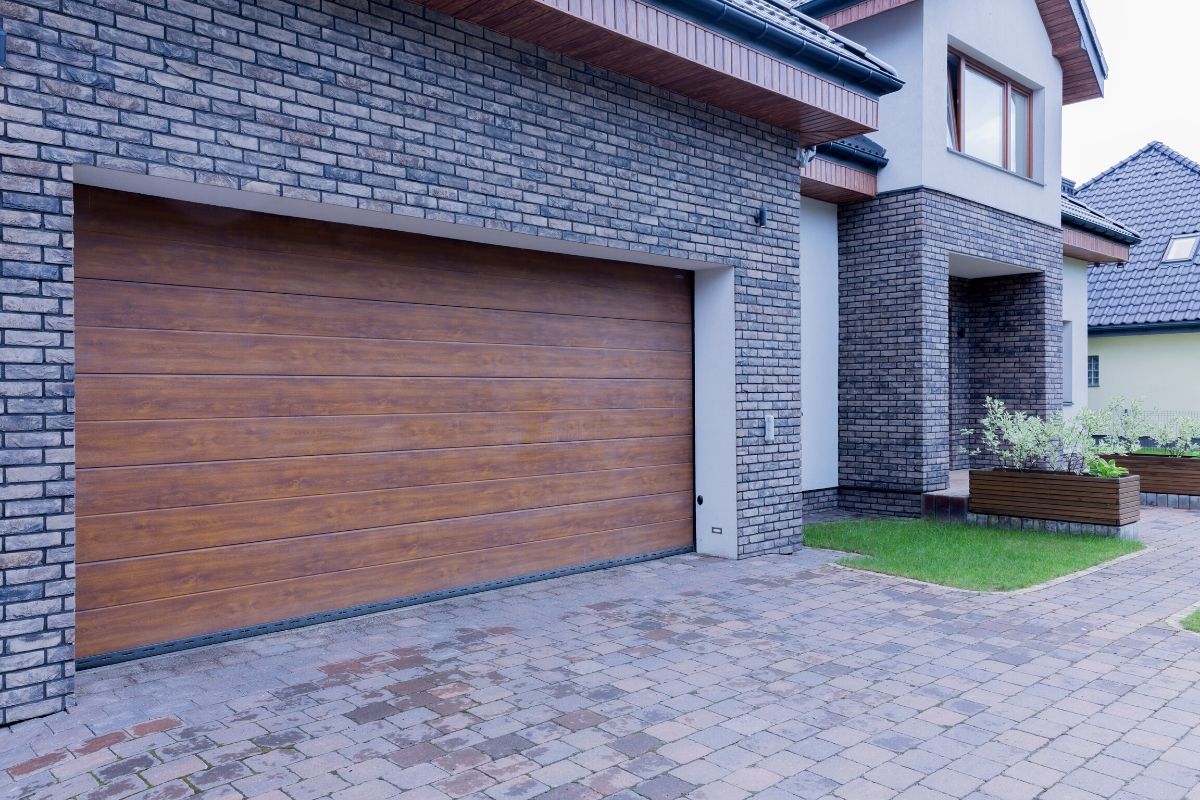
What Is the Standard Garage Door Size?
Many people who are in the process of building a home or designing one want to know what size opening should they leave for the garage door. Maybe you want to replace a worn-out door, or one that’s old or want something more secure. Regardless of the reasons, The Number Of Sizes Available is simply astounding. Plus, you also need to factor in custom-made garage doors that can be built for any size opening.
As a homeowner, you certainly don’t want to spend hours trying to find a garage door. Fortunately, by taking the right steps, you should be able to find a garage door that’s the perfect fit for your home.
Single and Double Door Sizes
The single garage door is your standard single-car garage, and some multi-car garages will have a vertical beam that separates both halves of the garage. Single garage doors are available in numerous options and are based on how old your home is. For instance, older homes were usually built with a space that was eight feet wide. Though the steady rise in popularity of SUVs meant that newer homes needed at least nine-foot of door space instead. Today, some modern garage doors can be up to ten feet wide, but the standard single garage door continues to be nine feet wide.
Double garage doors are as they sound, i.e. they are double in size compared to the single door. However, these garages and their doors are designed to house multiple vehicles, like RVs and SUVs, to name a few. Sizes of a double garage door can range from 12 to 20 feet, though most are an average 16 feet.
Standard Heights for a Garage Door
Older homes generally had shorter garage doors because, in those days, the cars we used were smaller. Older garages would be around seven feet in height. Though with newer homes, the height has had to be raised to around eight feet on average. Again depending on what you need, the garage door can be up to ten feet in height, but this height isn’t all that common.
If you are getting a new garage built, you will want to speak with your architect about what you need. Larger garage doors are best for commercial vehicles, which also need more space within the structure. That’s why you will want to communicate with the architect to ensure that you get a garage and a door that meets your needs the best.
We Can Help You Choose A Garage Door
Are you in the market for a garage door and unsure what type will meet your needs the best? We can help you. Our team has years of experience installing garage doors, and we can help you find the best one. We’ve helped hundreds of clients who were not sure what type of garage door would work best for them over the years.
We are also here to answer any questions you might have.

A Garage Door Jamb is often an overlooked piece that needs to get more attention in our professional opinion. These are often trim pieces that will cover the rough framed opening for the garage door.
The garage door jamb is also referred to as a liner or a wrap. The purpose of the jamb is to cover the often rough framing while providing a mounting location where the garage door seals. Owing to its location and the wear and tear anticipated, you are better off going with a sturdy option.
Our vehicles, boats, or even our toys go in and out of the garage. However, think about what will happen if someone accidentally rubs a side mirror or something similar against the garage wrap as they back out. The same goes for if they rub the boat or trailer against it? If anything, the prospect of fixing the garage door and the car or boat can be daunting, not to mention costly. That’s why it’s best to know what trim material is the ideal choice for your garage door opening.
Using Real Wood Trims As Jambs
Natural wood jambs are extremely common and one of the best choices in our experience. If you want stiffness, strength, rot resistance, aesthetics and durability, you can’t go wrong with wood. The other reason to choose wood is that it easily fastens to the edges, and paint tends to adhere well to it (wood).
Generally, speaking there are three types of wood jambs, ones made from construction lumber, primed white wood and cedar /redwood.
When Should Garage Door Jambs Be Replaced?
Even the best wood jambs have to be replaced. Wood jambs will often rot after a few years, and there will be some degree of warping along the sides. Also, you want to close the garage door to see how much sunlight is coming through the door. If your jambs are painted, and you see chipped spots, there will be some water seeping through the wood, and that will lead to rot. Jambs with this problem should be replaced right away.
When is the Best Time to Replace the Garage Door Jambs?
The best time to replace the garage door jambs is when you’re getting a new garage door installed. Most technicians should be able to access the jambs easily. The new jambs are then installed right along with the vinyl weather seal, usually around the perimeter of the garage door, which will prevent bugs, leaves and critters from getting in.
We strongly advise that homeowners take special care of their door jambs as it is a vital part of their home. Also, ensure that you choose the right size.
Conclusion
After you have installed or replaced the jambs, it is a good idea to call professionals like us to adjust the garage door and the opener. The framing can change slightly, but that’s enough to damage the garage door and the opener if it isn’t adjusted correctly. We use a unique set of tools and experience to ensure that the adjustment is as precise as possible.